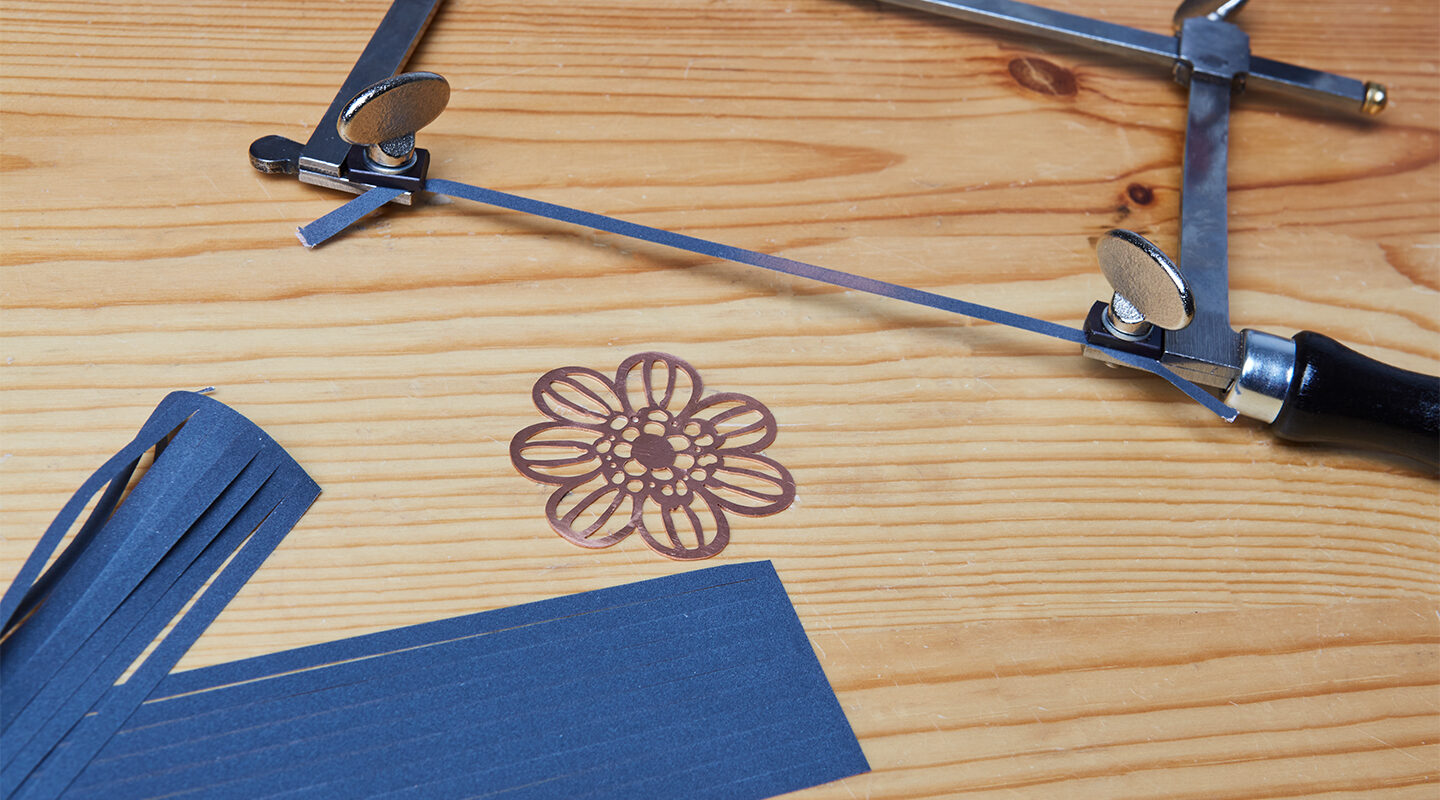
Out of all my hand tools, my jeweler’s saw is the one I have owned the longest and love the most. Sawing is one of those tasks that calm, center, and typically delight me – unless I am having one of those rare “bad blade karma” days. Usually though, a pack of my favorite blades and a tube of sawing lubricant means I will spend several hours happily lost in time and, truly, I could never understand why anyone who makes jewelry would not love it, too. For me, sawing is the most essential jewelry-making technique to master. My teachers taught me to believe that when you saw well, most potential fabrication difficulty will be eliminated because you won’t need to invest any of your valuable time fixing a bad fit. After all, well begun is half-done.
Because I love to saw, over the years I’ve tried dozens of different blade brands and quite a few different saw frame styles from manufacturers both large and small. My everyday jeweler’s saw has cut metal of every shape, species and gauge, plus wood, laminate, plastics and ceramic, and I have learned quite a few tricks for happy sawing while doing it. That said, good old-fashioned saw piercing is my thing, but did you know there was an entire other path you could take your trusty saw frame down that goes way beyond simply piercing out a sheet of metal? Well, sit down.
Your saw is not just a saw! It’s also a file or a sanding or polishing tool depending upon what you load into it. For instance, a narrow strip of abrasive paper inserted into your saw frame can be used to efficiently sand off blade marks along the edges of sawn metal, to clean up narrow openings, slots or slits, and that saw frame will keep the paper taut enough to apply steady pressure while you are doing it.
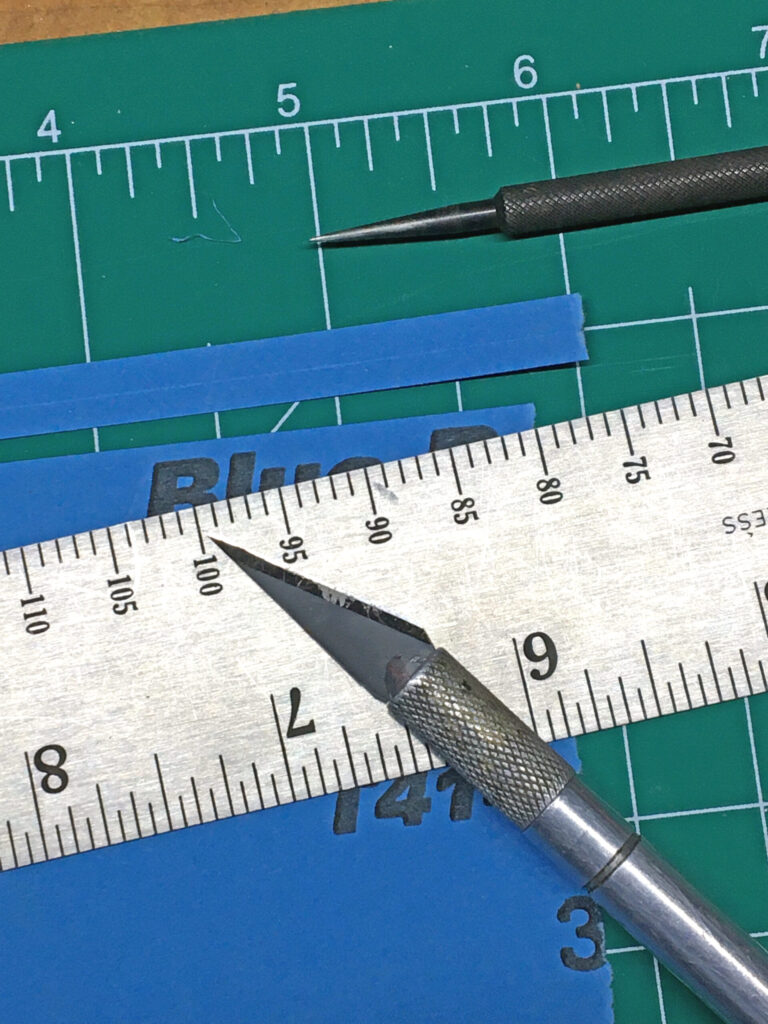
It’s very easy to make a sandpaper strip for your saw – just scribe and gently score the back of the abrasive paper strip in the center and fold the strip on the score line. I work on a cutting mat with ¼-inch guidelines and make sure my utility blade is very sharp when I do this. And I cut along a metal ruler because neatness counts. After that, just insert the folded strip into your frame with the abrasive facing out and Voila! You’ve got an instant custom-sanding strip in a grit of your choosing that will make dealing with the slimmest of openings in any gauge metal sheet a breeze. Best of all? You only need one hand to use the sanding marvel you created because the saw frame holds the paper taut while you hold your jewelry metal with the other hand!
Maybe you’re already be familiar with creating this kind of abrasive paper “blade” because it’s an awesome old-school trick for a jeweler’s saw frame, but I’ve recently discovered a new-school and seriously time-saving product based on the same idea – except it’s meant for polishing metal. Check out Slurry Coated Polishing Strips (1098510) – they’re sturdy, tear-resistant, can be used wet or dry, are pre-cut to the perfect length and width for your jeweler’s saw, and come in a terrific range of grits. I love that these color-coded strips are also micron-graded for consistent results every time. Just pop one into your saw and boom! Off to the races.
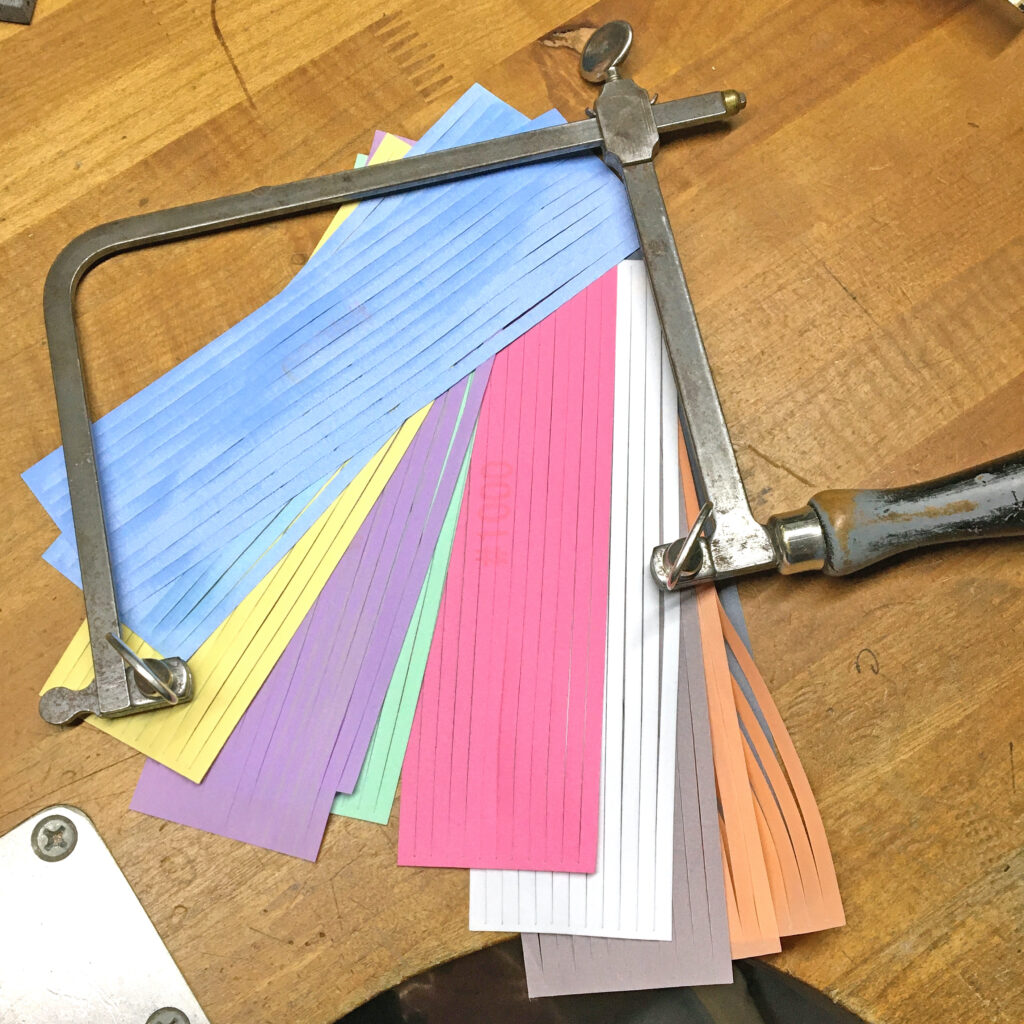
I honestly can’t get over how strong these strips are, and unlike other polishing papers I have used in the past, a sharp burr of metal simply won’t shred them. I love them most for removing blade marks in fretwork because they are slim, strong and efficient whether you use them by hand or in your saw frame. And, with convenience and durability like this, what’s not to love? I heartily recommend them!
Follow Gesswein on Instagram for the latest tool tips and stay posted for more tool blogs!